

Dealing with a wasp nest near your home can be nerve-wracking.
Whether you’ve spotted one in your garden, under the eaves, or near a window, it’s important to approach the situation with caution.
This guide aims to guide you through how to remove a wasp nest safely and effectively.
Step 1: Identify the Nest
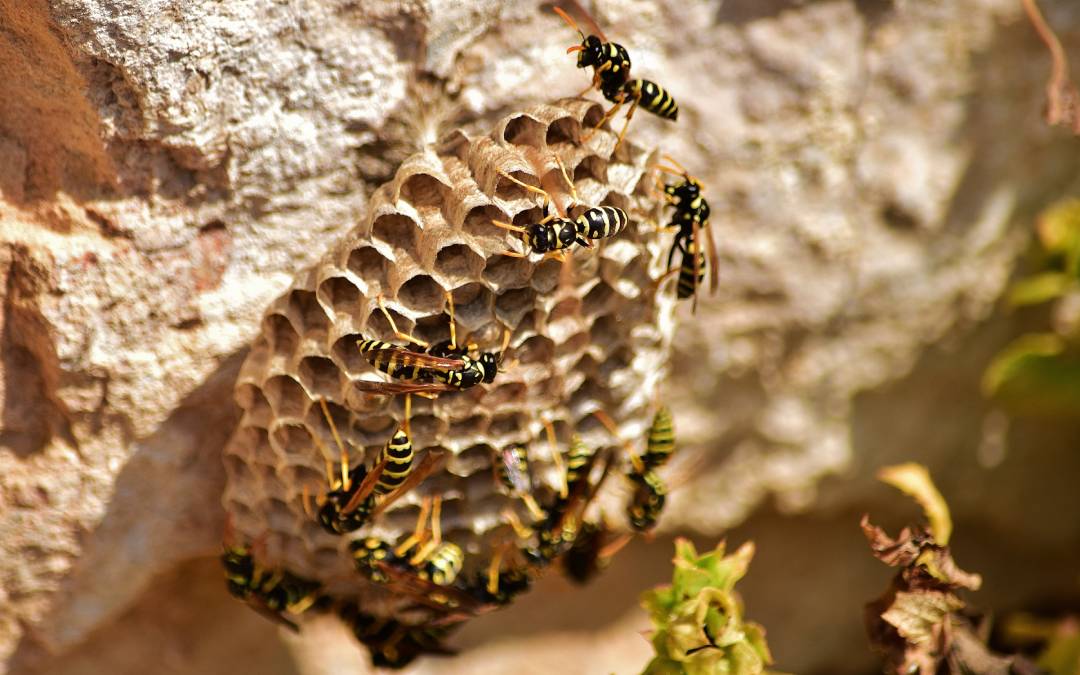
Before taking any action, it’s crucial to confirm that you’re dealing with a wasp nest. Wasp nests are typically made of a papery substance and can vary in size.
They are often found in sheltered spots like under eaves, in attics, or in wall cavities. Correctly identifying the nest will help you choose the best removal method.
Step 2: Safety First
Safety is paramount when dealing with wasps. Wear protective clothing, including long sleeves, pants, gloves, and a face mask or veil.
Wasps can become aggressive if they feel their nest is threatened, so it’s vital to protect yourself from potential stings, especially if you are allergic.
Step 3: Choose the Right Time
Wasps are less active during the cooler hours of the day. Plan to remove the nest at night or early in the morning. This minimizes the risk of agitating the wasps and reduces the likelihood of being stung.
Step 4: Prepare Your Approach
If the nest is small and within reach, you may be able to remove it yourself using over-the-counter insecticides. Be sure to read and follow the manufacturer’s instructions carefully.
For nests that are large or in hard-to-reach places, consider calling a professional. Pest control experts have the necessary equipment and experience to safely remove the nest.
Step 5: Applying Insecticide
If you choose to remove the nest yourself, apply the insecticide directly to the nest’s entrance.
Be cautious and avoid inhaling the chemicals. It’s advisable to have an escape route planned in case the wasps become aggressive.
Step 6: Remove the Nest
After the wasps have been eliminated, which may take a day or two, you can proceed to remove the nest. Using a long tool, gently knock down the nest and dispose of it in a sealed bag.
Step 7: Post-Removal Care
After removing the nest, clean the area thoroughly to prevent other wasps from being attracted to the site.
Seal any openings or cracks that the wasps used to build their nest to prevent future infestations.
Step 8: Preventive Measures
Prevention is key to avoiding future wasp nest problems. Regularly inspect your property for early signs of nest-building, seal potential entry points, and keep outdoor areas clean from food sources that might attract wasps.
See our guide on how to keep wasps away
Removing a wasp nest can be a daunting task, but by following these steps, you can do it safely and effectively. Remember, if the nest is large or difficult to access, it’s always safer to call in the professional for wasp nest removal.
Stay safe and be proactive in preventing future wasp issues on your property.
By understanding how to remove a wasp nest, you can tackle the problem confidently and safely. Remember, the key is to be cautious, prepared, and if in doubt, seek professionals like H2 pest control for help.